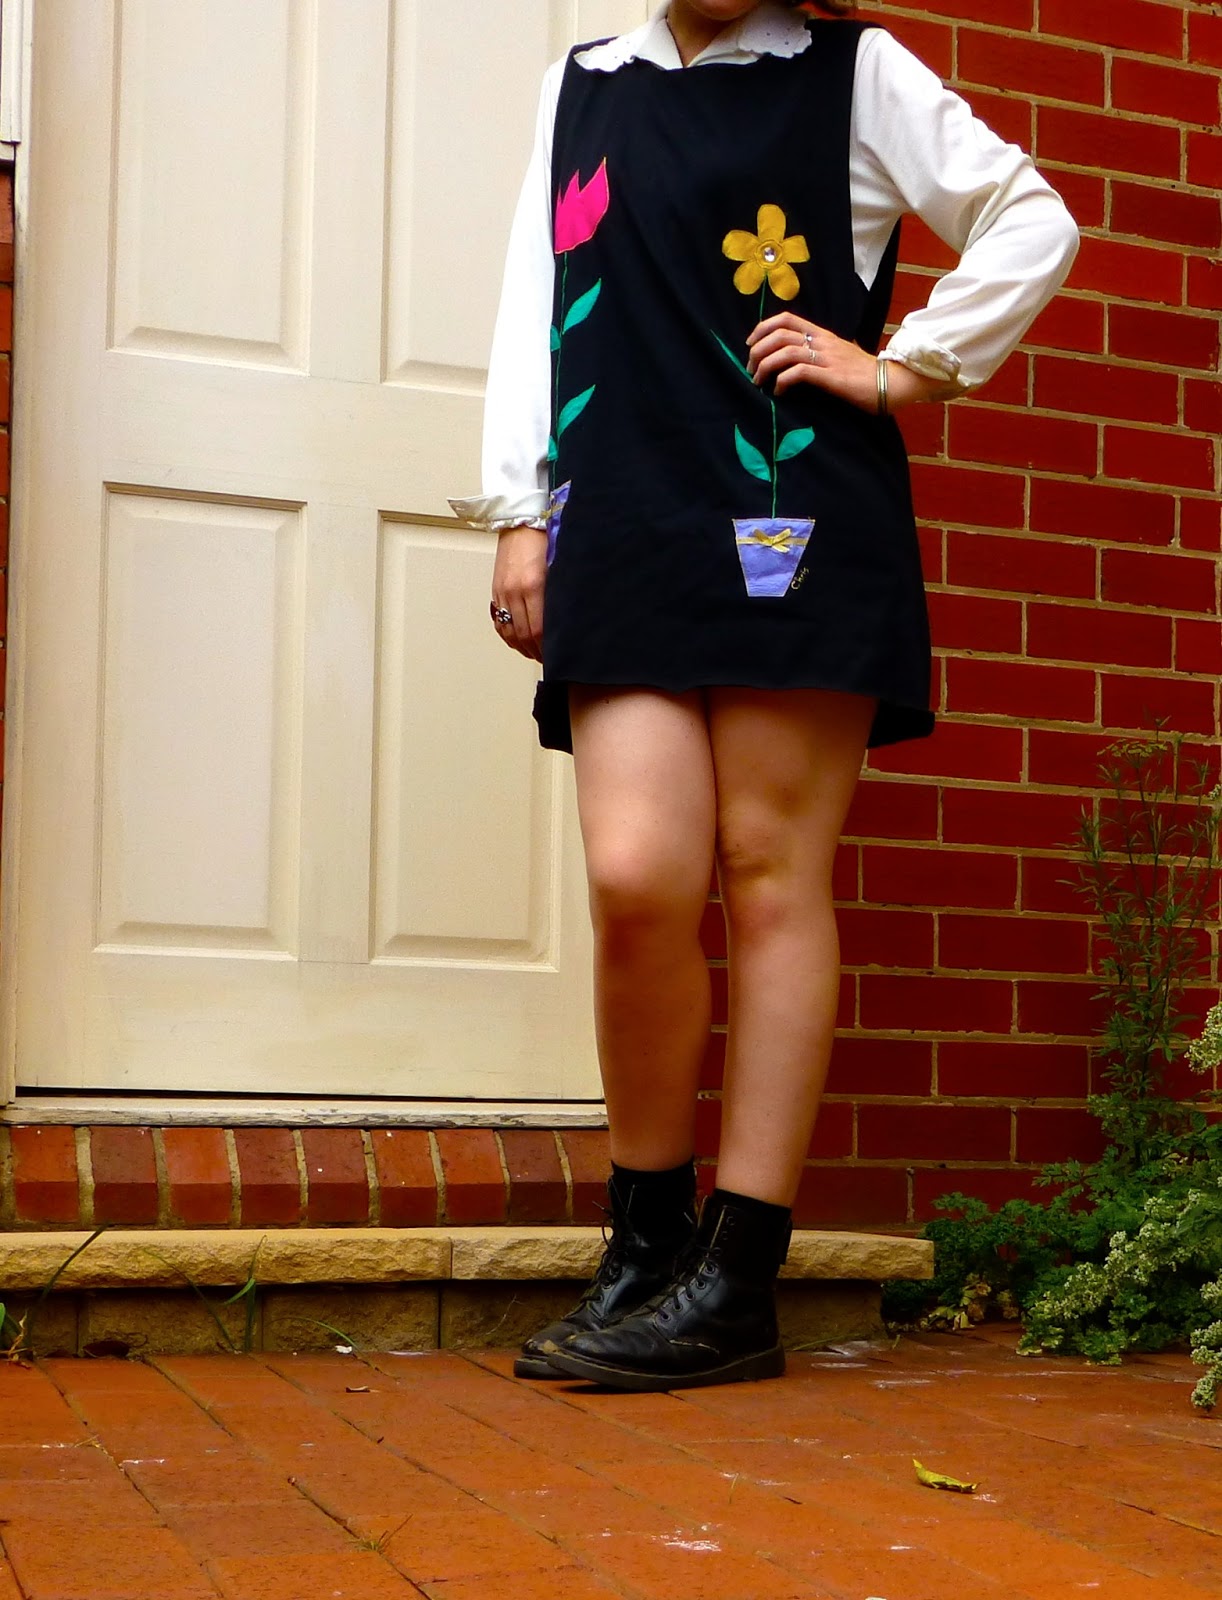
Blouse - Thrifted, Tunic - Thrifted and altered, Dr. Marten 1490 Boots - Thrifted, Rings - (from left) Lovisa, Thrifted, Bingo Betty, and Etsy, Bangle - Market stall at Woodford Folk Festival, Lips - Illamasqua 'Spell' medium pencil and Clinique 'Super Moisturising Gloss'
This OOTD accidentally reminds me of Jess and mine's winter uniform. Navy blue tunic and a white button-up blouse (yes, I know this one is cream). And as much as I despised wearing that uniform, it creates something nice and nostalgic about this outfit. Virtually everything is thrifted, which you will learn is not unusual for me. The blouse I dug out for $2 at my favourite thrift store near my old home, and the tunic also thrifted (see Sunday's DIY post). My boots I think I've mentioned before; my Dr. Martens are one of my most treasured and well used possessions.
Here in Melbourne, the Summer can be unpredictable in its temperature variations. It can range from 12 to 40 degrees within two or three days. I wore this outfit on Saturday on a casual stroll down to the Camberwell shops and was pretty pleased with the fact I could wear boots and a long sleeve shirt in Summer.
It was also my first day experimenting with styling my new haircut. The first wash after the hairdresser styles it is always interesting. I purchased this snazzy new product called the Miracle Hair Treatment from ELEVEN and so far I've been pretty impressed. With a tousle through my hair and a thorough blow-dry with my hands the result was exactly as expected and desired. Super soft, lacking frizz, and that perfect 'rolled out of bed' look.
I've been accruing more and more rings of late. However, I have to wear sterling silver as my skin instantly turns green if it's cheap metal. My favourite is the tiny little crown ring on my ring finger (far right). Jess bought me this for my 20th birthday last year. The one next to it is a recent purchase from Bingo Betty just around the corner from my house. I love that it's a square shape. Second from the left, you'll see a ring I found hidden in my mum's collection - aching to see the light of day. The fourth ring was just a cheapie pick-up from Lovisa during its seemingly continuous 3-for-2 sale.
Have you been grabbed by the recent trendy addiction to rings? I struggle finding sterling silver ones with multiple sizes - any tips?
Erin xx